Why a dirty condenser costs you money
A refrigeration system moves heat from inside the cabinet to the room. The refrigerant picks heat up at the evaporator inside, the compressor squeezes it to a high pressure and temperature, and the condenser coil — a block of thin metal fins over copper or aluminium tubes, with a fan blowing through it — releases that heat into the air. The hotter the coil has to run to get rid of the heat, the higher the pressure the compressor works against.
A layer of dust acts like a blanket. Airflow drops, condensing pressure rises, and the compressor draws more current for less cooling. In a 40 °C kitchen, a clogged coil is often the difference between a unit that holds 4 °C and one that drifts to 9 °C by lunch service. Over months, the extra heat shortens the life of the compressor, the fan motor and the start components.
Find the condenser on your unit
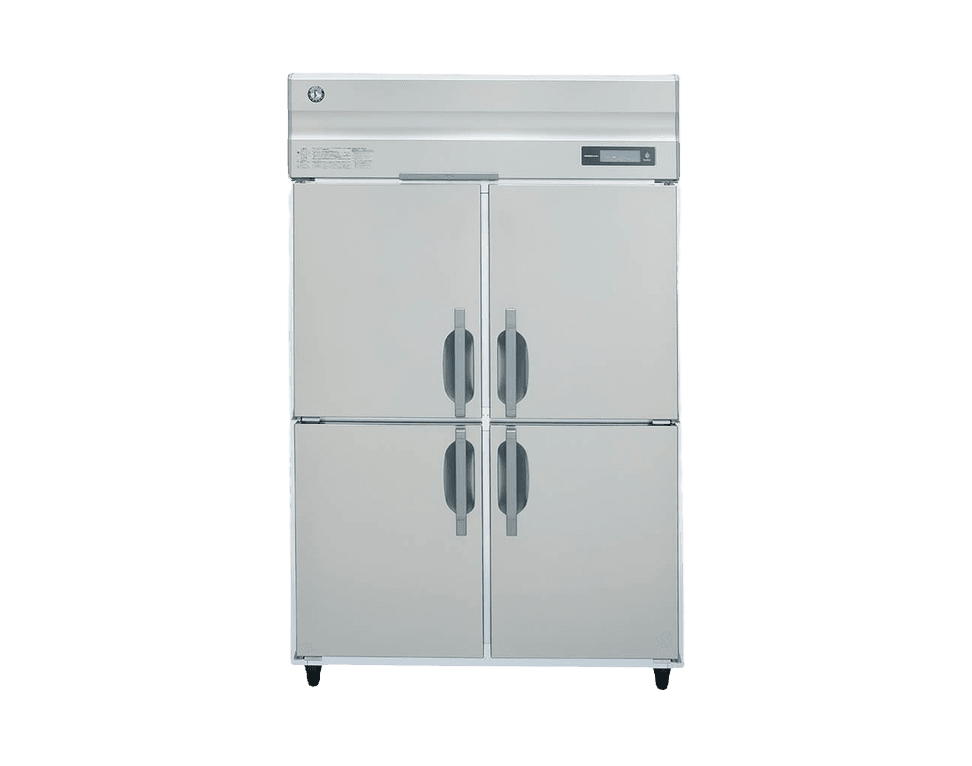
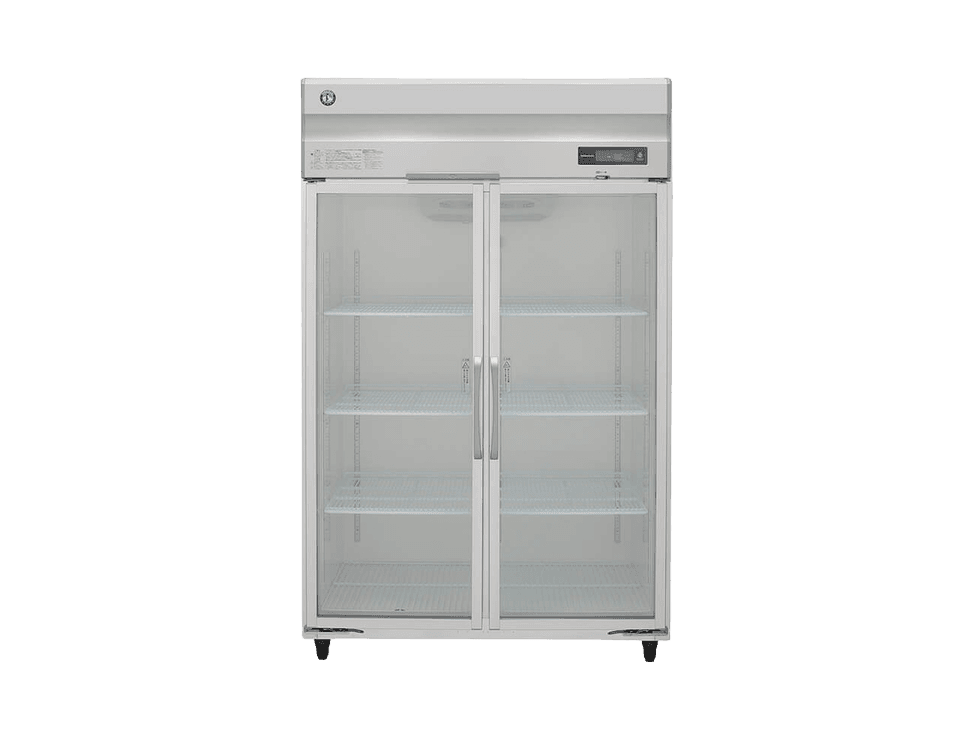
- Bottom-mounted reach-ins and visi coolers: behind the lower front grille or kick plate. The grille usually unclips or has two screws.
- Top-mounted units: on top of the cabinet behind a louvred panel. You will need a stable step ladder, not a crate or chair.
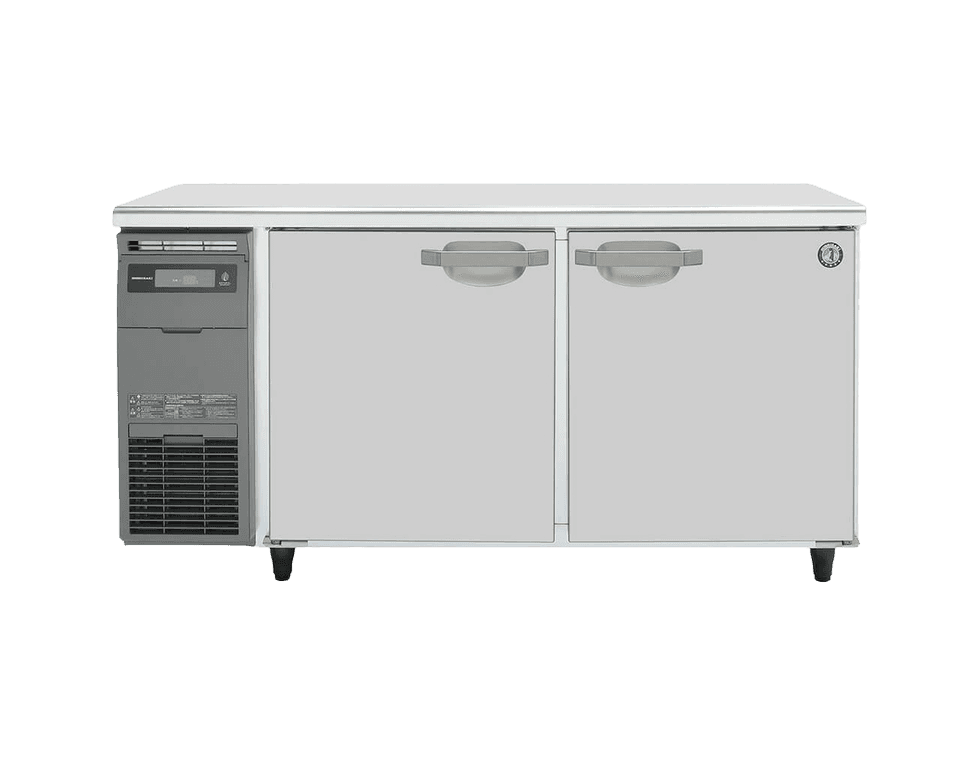
- Undercounters and prep tables: often behind a front louvre (front-breathing) or at one end. Some need the unit pulled out to reach the coil.
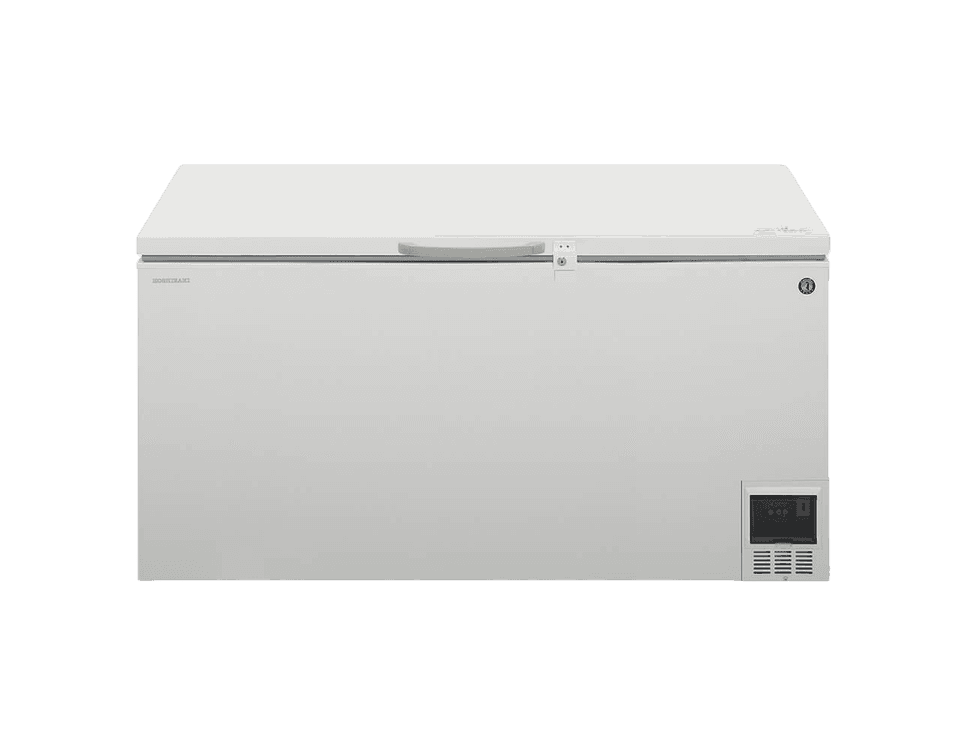
- Chest deep freezers: many use a skin condenser — tubing bonded inside the outer walls — with no coil to brush. Others have a small fan-cooled coil behind a side or rear grille. If you cannot see fins, there is nothing to clean except the ventilation gaps around the cabinet.
- Older units may have a black wire-and-tube grid on the back. It has no fan, so dust settles on it slowly; a soft brush and vacuum every few months is enough.
Tools you need
- A soft coil brush or long-bristle paintbrush. Never a wire brush.
- A vacuum cleaner with a brush nozzle, ideally a shop vacuum.
- A torch, gloves (the fin edges are sharp) and a dust mask.
- A plastic fin comb for straightening bent fins.
- For greasy kitchens: a foaming coil cleaner labelled safe for aluminium fins, and a spray bottle of plain water. Avoid oven cleaners and caustic degreasers — they eat aluminium.
Step by step: cleaning a dusty coil
- 1. Move perishable stock to another unit if the job will take more than 30 minutes. A short clean with the door kept shut is fine for most cabinets.
- 2. Switch off and unplug the unit, or switch off its MCB. Turning the thermostat down is not isolation — the fan or compressor can start while your hand is in there.
- 3. Remove the grille and shine a torch through the coil. Note which side is the air inlet: dirt builds up on the face the air enters.
- 4. Brush the inlet face gently in the direction of the fins (usually up and down), never across them.
- 5. Vacuum the loosened dirt, holding the nozzle slightly away from the fins.
- 6. Look through the coil against the torch. If light passes evenly, it is clean. If the core is still packed, work from the fan side outward so dirt leaves the way it came in.
- 7. Clean the fan blades and the area around the compressor, and pull out any plastic, paper or lint lying near the fan.
- 8. Straighten any flattened fins with the fin comb, refit the grille, restore power and check the condenser fan starts when the compressor does.
Greasy coils near fryers and tandoors
Grease turns dust into a sticky felt that a brush only smears. With the power isolated, protect the fan motor and electrical box with a plastic sheet, spray a foaming aluminium-safe coil cleaner on the inlet face, leave it for the time stated on the can, then wipe or mist it off with a light spray of water. Do not soak the coil, and never use a pressure washer — it flattens fins and drives water into motors and terminals. Let everything dry fully before switching on.
If the coil is so caked that you cannot see daylight through it, or the grease has spread over the compressor and wiring, book a technician. A professional clean is cheaper than a compressor.
Mistakes that damage the coil
- Scraping with a knife or screwdriver. One slip can puncture a tube and lose the refrigerant charge.
- Brushing across the fins, which folds them over and blocks airflow worse than the dust did.
- Blowing compressed air into a coil with the power on, or into the face of the electrical box.
- Refitting the grille upside down or leaving it off. The grille often guides air through the coil; without it, hot air can recirculate.
- Cleaning the coil and then stacking boxes back against the vents.
Safety notes
Always isolate power before you touch the condenser area. Fan blades start without warning and the compressor terminals carry mains voltage. Wear gloves: fin edges cut like paper. Many newer units use hydrocarbon refrigerants such as R290 or R600a, which are flammable. Cleaning the outside of the coil is safe, but never use a flame, heat gun or spark-producing tool near the pipework, and if you damage a pipe or smell gas, keep the area ventilated, keep ignition sources away and call a technician trained for flammable refrigerants.
Frequently asked questions
- How often should I clean the condenser coil?
- Monthly is a sensible baseline for most commercial units. Kitchens with fryers, tandoors or flour dust, and shops on dusty roads, often need it every two weeks. Look at the coil each week for the first couple of months and set your interval from what you see.
- Can I wash the condenser coil with a hose?
- Not on a typical self-contained cabinet. The fan motor, compressor terminals and controller sit right next to the coil. A light mist after a foaming coil cleaner, with electricals covered and power off, is the most water you should use.
- My chest freezer has no visible coil. What should I clean?
- It probably has a skin condenser inside the outer walls. Keep the clearance around the cabinet the manufacturer specifies, wipe dust off any vents, and do not push the freezer flush against a wall.