Cleaning and sanitising are different jobs
Cleaning removes visible soil: food residue, grease, sugar and the biofilm that bacteria build on surfaces. It uses detergent, warm water and a cloth or brush. Sanitising reduces the number of microorganisms on an already clean surface to a safe level, using a food-safe sanitiser at the right strength for the right contact time.
Sanitiser poured onto a dirty shelf is wasted — food residue uses up the active chemical and shields bacteria from it. Always clean first, rinse, then sanitise.
How often
- Spills: wipe immediately, especially raw meat juices, brine and sugar syrups.
- Weekly: full clean and sanitise of shelves, walls, door liners and gaskets in busy kitchen units.
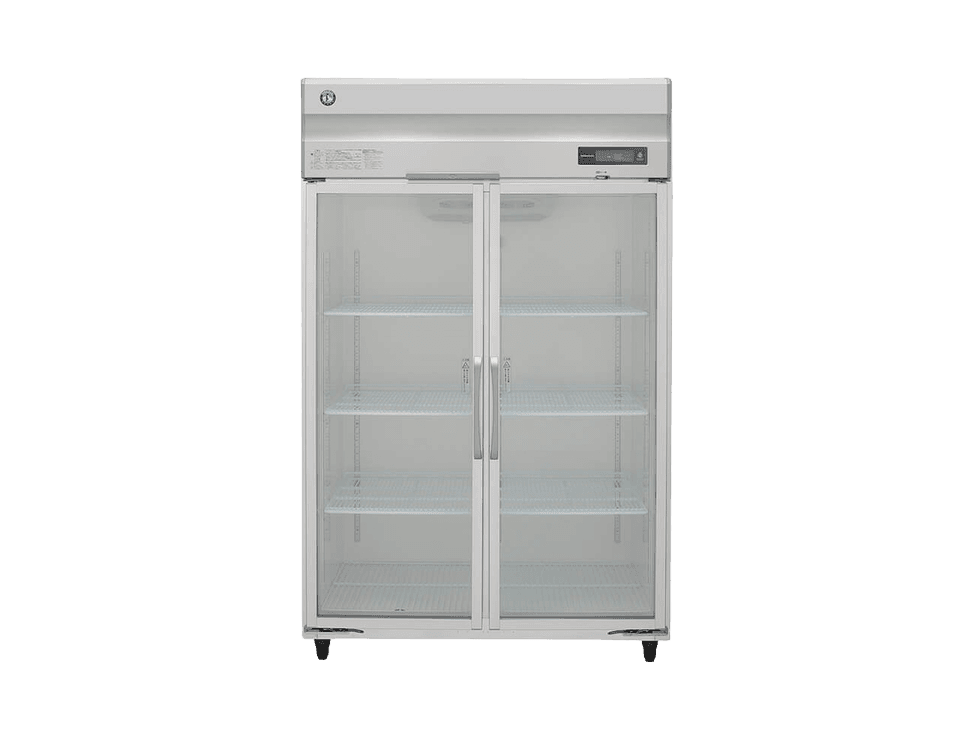
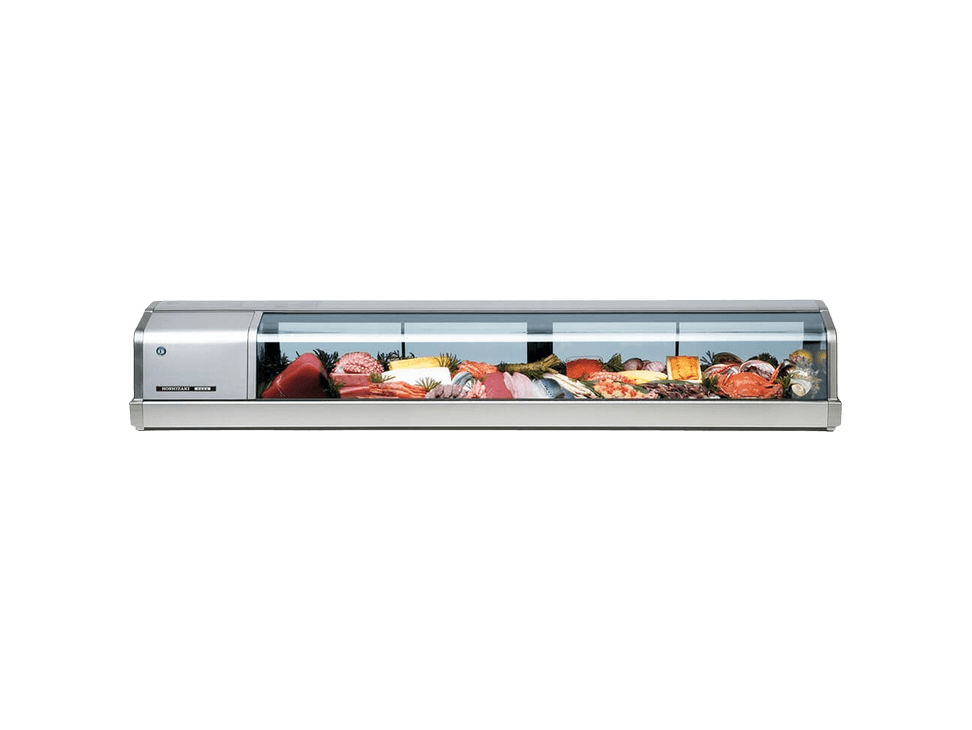
- Every two to four weeks: display cases and visi coolers that hold only sealed or packaged products, plus a quick wipe of shelves weekly.
- After any power failure, leak or spoiled stock: a full clean and sanitise before restocking.
Choosing safe chemicals
Use a neutral or mild detergent for cleaning, and a sanitiser labelled for food-contact surfaces — commonly chlorine-based (diluted hypochlorite) or quaternary ammonium (quat) products. Mix them exactly to the label dilution with a measuring cup, not by eye; too weak does not work and too strong leaves residue, taints food and attacks gaskets and steel.
Avoid abrasive powders, steel wool, solvent cleaners and strongly scented household products. Chlorine at high strength left on stainless steel causes pitting, so stick to the label dilution and rinse if the product says to. Never mix chlorine products with acids or ammonia-based cleaners.
Step-by-step weekly clean
- 1. Plan it for the lowest-stock time of day. Move food to another chilled unit or insulated boxes with ice packs; keep raw and ready-to-eat items apart.
- 2. Switch off and unplug the unit if you will be wiping near the fan, lights or controller, or if the clean will take long. For a quick shelf wipe, it can stay on with the door shut between steps.
- 3. Remove shelves, wire racks, pans and drawer inserts. Wash them in the sink with warm detergent water and a soft brush, rinse and sanitise.
- 4. Wipe the interior from top to bottom: ceiling, walls, back panel, then floor. Pay attention to corners, shelf supports and the joint between floor and walls.
- 5. Clean the door liner and gasket with mild detergent — not sanitiser at full strength, which hardens rubber. Open the gasket folds to reach trapped crumbs.
- 6. Rinse surfaces with a clean damp cloth to remove detergent.
- 7. Apply sanitiser at label strength, leave it for the stated contact time, then let air-dry or rinse if the label requires.
- 8. Dry the floor of the cabinet and the gasket with a clean cloth so water does not freeze or pool.
- 9. Refit shelves, switch on, and wait for the cabinet to reach its set temperature before restocking.
Restocking to keep it clean
Restocking is a chance to fix the habits that caused the mess. Raw meat, poultry and fish go on the lowest shelves in trays deep enough to catch drips. Cooked and ready-to-eat food goes above. Everything is covered and labelled with a date. Leave a gap between containers and the walls so cold air can circulate, and keep the area in front of the evaporator fan clear. Check that nothing is touching the back wall, where it can freeze to the panel or block the drain.
Safety notes
Isolate power before wiping near lights, fans, sensors or the controller. Wear gloves when handling sanitisers and store them away from food. Do not spray liquids into the evaporator fan housing, light fittings or controller display. On units with hydrocarbon refrigerants such as R290, interior cleaning is routine and safe, but do not use sharp tools to chip ice from the evaporator or walls — a punctured pipe releases flammable gas and needs a trained technician.
Frequently asked questions
- Can I use vinegar to sanitise a commercial fridge?
- Vinegar helps with odour and light mineral deposits, but it is not a reliable food-contact sanitiser for a commercial kitchen. Use a product labelled for food-contact surfaces at its stated dilution.
- How do I remove a lingering smell after cleaning?
- Find the source first: a spill under a shelf support, a blocked drain or a dirty drip tray. Once those are clean, a dish of baking soda can absorb residual odour. Fragranced products only mask it and can taint food.
- Should the fridge be empty and off for every clean?
- A weekly shelf-and-wall clean can be done in sections with the unit running and the door shut between steps. A deep clean, or any work near fans and lights, should be done empty with power isolated.